Assets
First, let's introduce the functions of the row of buttons at the bottom of the Assets panel.
The buttons on the bottom left, from left to right, are:
Create Folder: Creates a new folder under the currently selected category.Clear Cache: Clears all thumbnail caches.Delete Folder: Deletes the currently selected folder (the folder must be empty).Mark / Unmark as Favorite:MarksorUnmarksthe currently selected file as a favorite.- Favorited custom folders will be marked yellow.
- Favorited official folders will be marked green.
Hide / Unhide Non-Favorites:HidesorUnhidesfolders that are not marked as favorites.
The buttons on the bottom right, from left to right, are:
Import / New Asset: Imports or creates a new asset of the current category.Delete Asset: Deletes the currently selected asset.Import Folder: Selects a folder and imports all assets of the current category from it.Show in Explorer: Opens the folder containing the current asset in the file explorer.
TIP
There are 2 ways to rename an asset:
- Select the asset and modify it in the
Inspector. - Rename the asset file directly in the file explorer.
Scene
Append Scene
- Select the scene you want to append.
- Click the
Inspector → Append Scenebutton. - Click
OK.
Appending a scene imports all items from another scene into the current one, preserving their original position, scale, and rotation.
Item
Save Item as Template
- Select the item you want to save.
- Select the
Assets → Itemscategory and click the first button on the bottom right,Save Asset, or directly drag the item into theItemspanel. - Enter a name for the template and click the
Savebutton. - After saving successfully, the item will be added to the current folder of the Items category.
TIP
Multiple items can be saved in a single template:
- Choose one item to be the main item.
- In the
Hierarchy, drag all the items you want to save onto the main item, making them its children (you can also organize the hierarchy yourself, but there can only be one main item). - Select the main item and save it following the steps above.
- After saving successfully, the template will preserve the hierarchy, relative positions, rotations, scales, and relative references of all items.
Mesh
If the built-in items don't meet your mapping needs, you can consider creating your own meshes.
TIP
Meshes can be dragged directly into the scene for use.
Import Mesh
- After modeling in 3D software, export the mesh in
.fbxformat. - Select the
Assets → Meshescategory and click the first button on the bottom right,Import Mesh. - In the dialog box that appears, select the exported
.fbxfile and click theOpenbutton.
TIP
See: Start → Preparation → Coordinate System
For modeling software that does not support exporting to .fbx, you can export the model in another format, import it into Blender, and then export it as an .fbx.
Software confirmed to be compatible:
Texture
Import Texture
- Prepare your texture map files (
.png,.jpg,.exrformat). - Select the
Assets → Texturescategory and click the first button on the bottom right,Import Texture. - In the dialog box that appears, select the texture map file and click the
Openbutton.
Texture Properties
After selecting a texture, you can set its properties in the Inspector:
Filter Mode: Determines how the texture's color values are interpolated. There are three modes:Point,Bilinear, andTrilinear.Mip Chain: Adds multiple levels to the texture, allowing it to display different effects at different distances.
After setting, click the Apply button to apply the settings.
Material
BME Pro's material system is a custom PBR material system. Each material consists of three 2048×2048 .png texture maps.
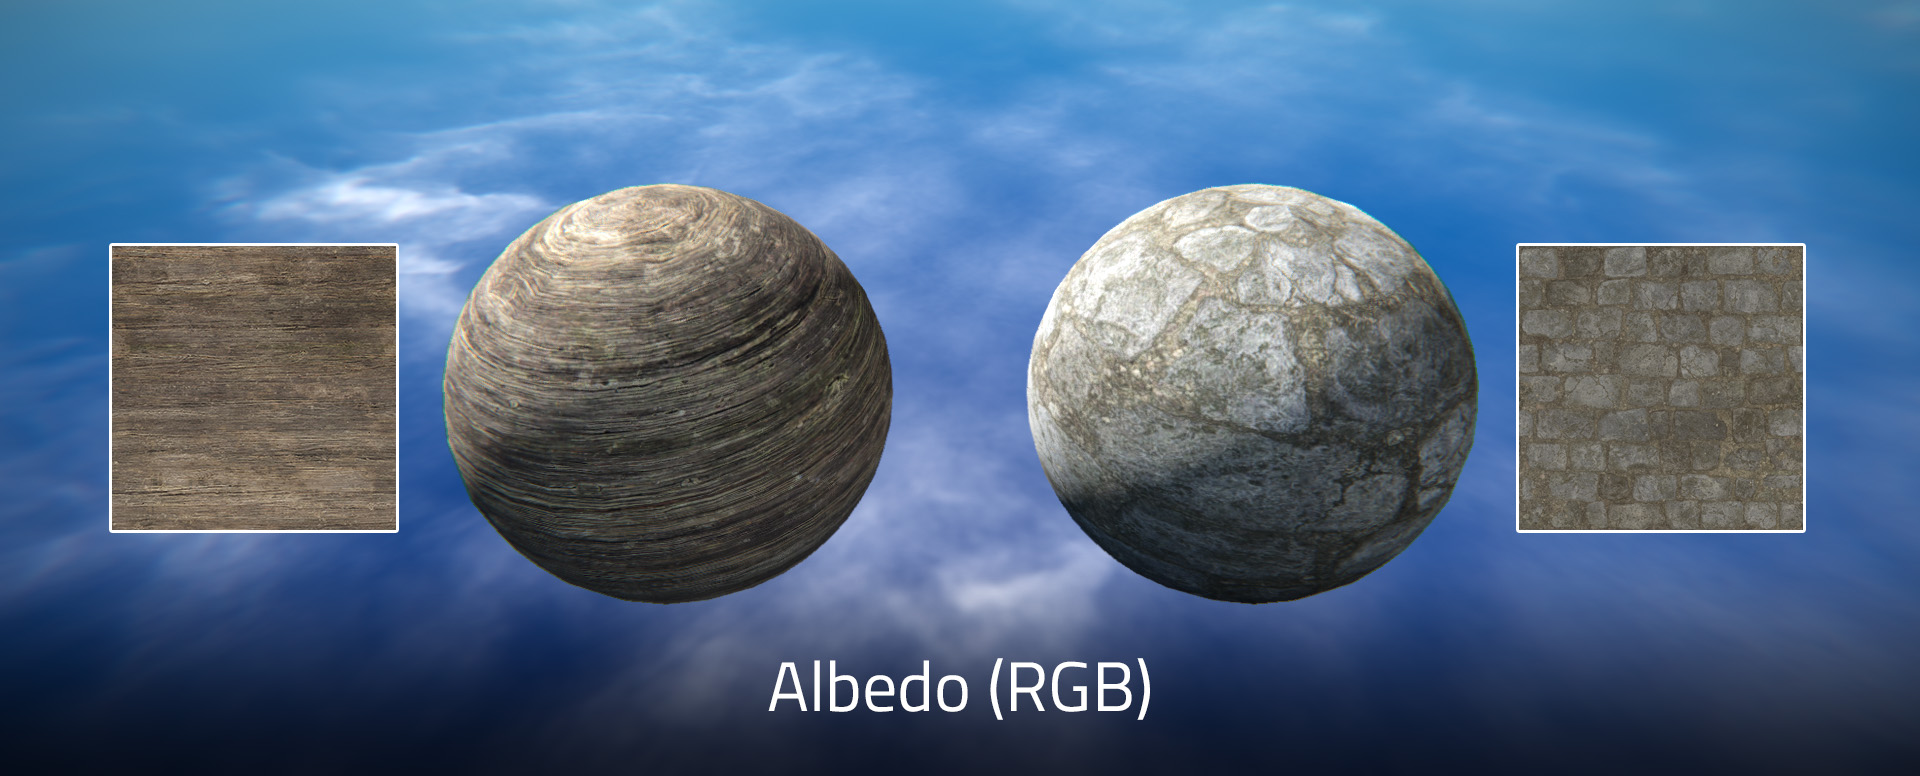
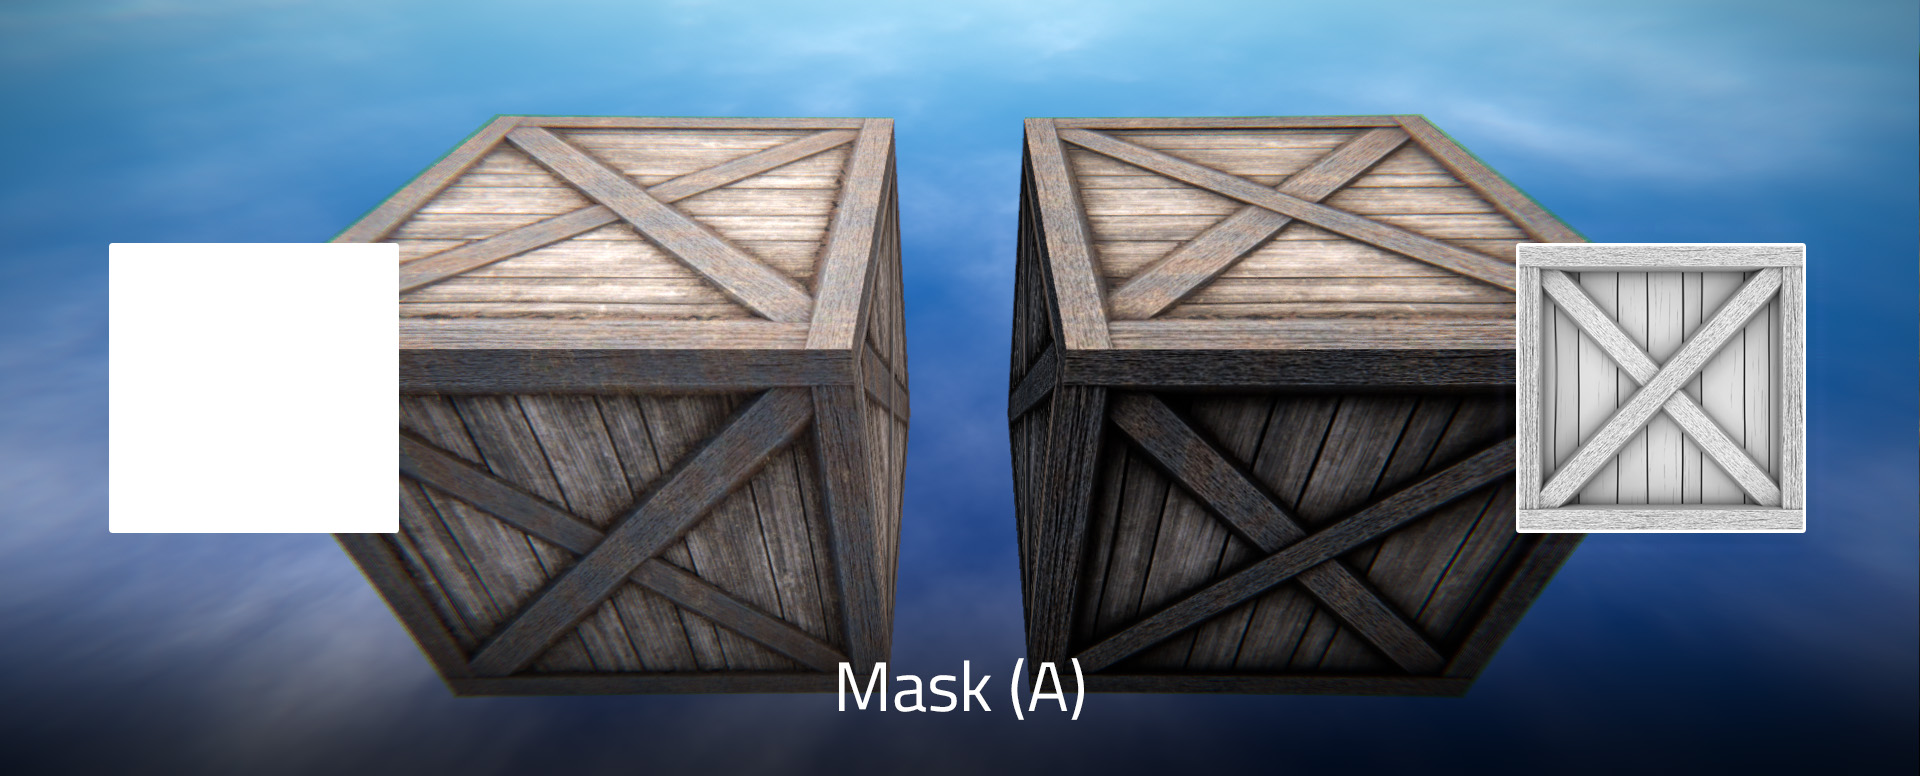
Albedo Map
RGB channel: Albedo color. (Required) A channel: Depth or Opacity. (Optional, leave white if not used)
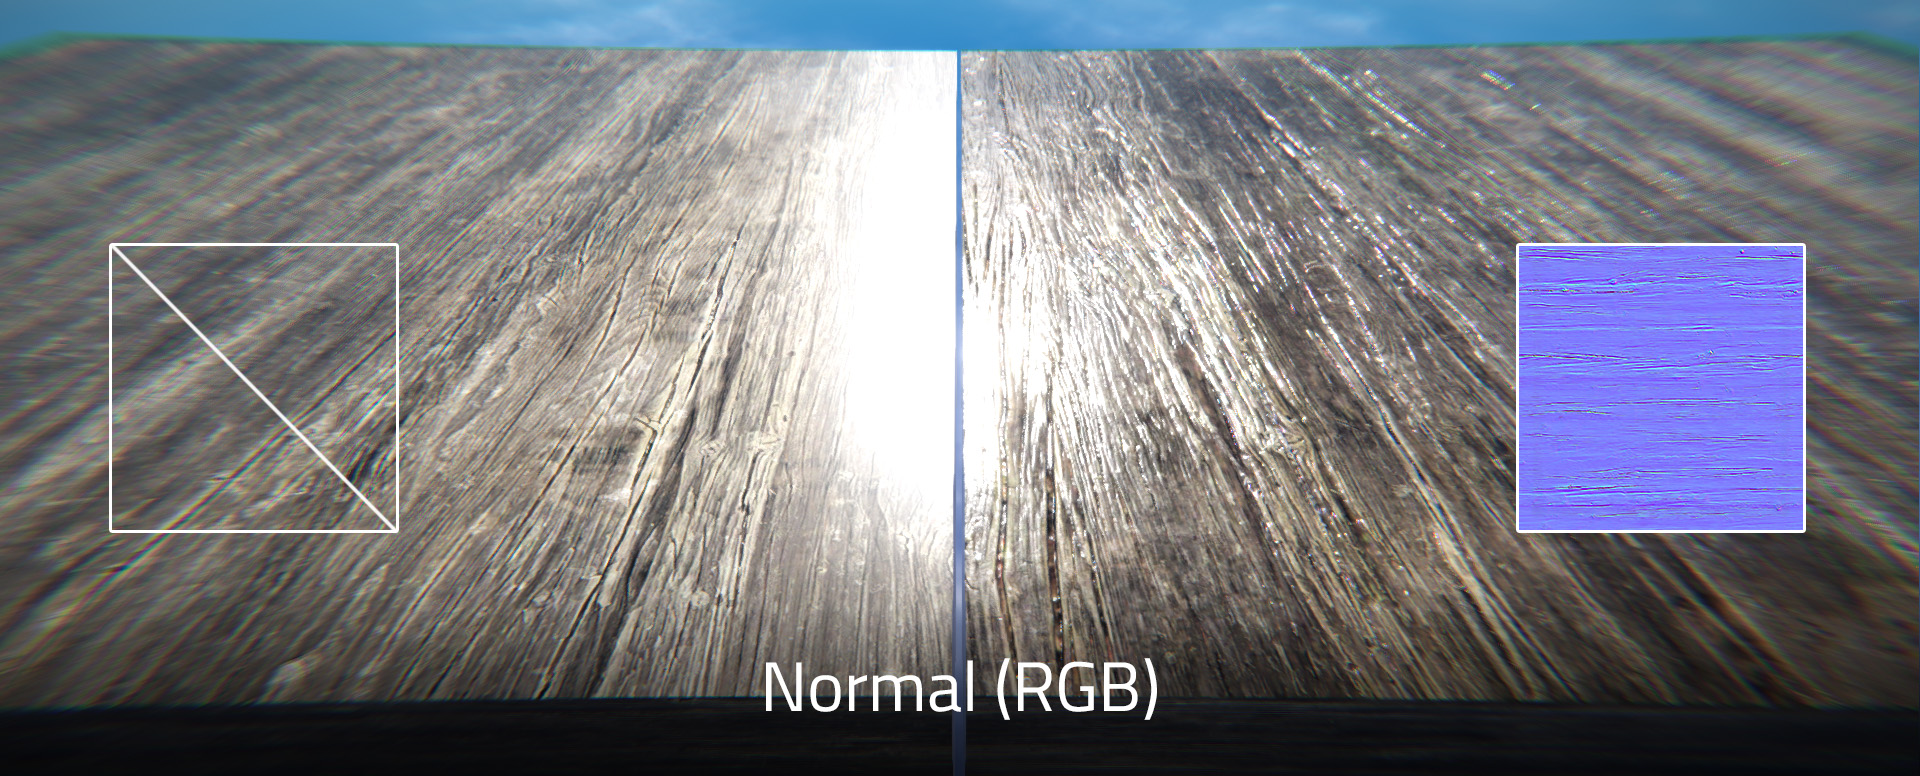
Normal Map
RGB channel: Normal direction. (Optional, do not import if not used) A channel: Currently unused
TIP
In Adobe Photoshop, you can use the Filter → 3D → Generate Normal Map... feature to generate a normal map.
Mask Map
R channel: Emission. (Optional, leave black if not used)
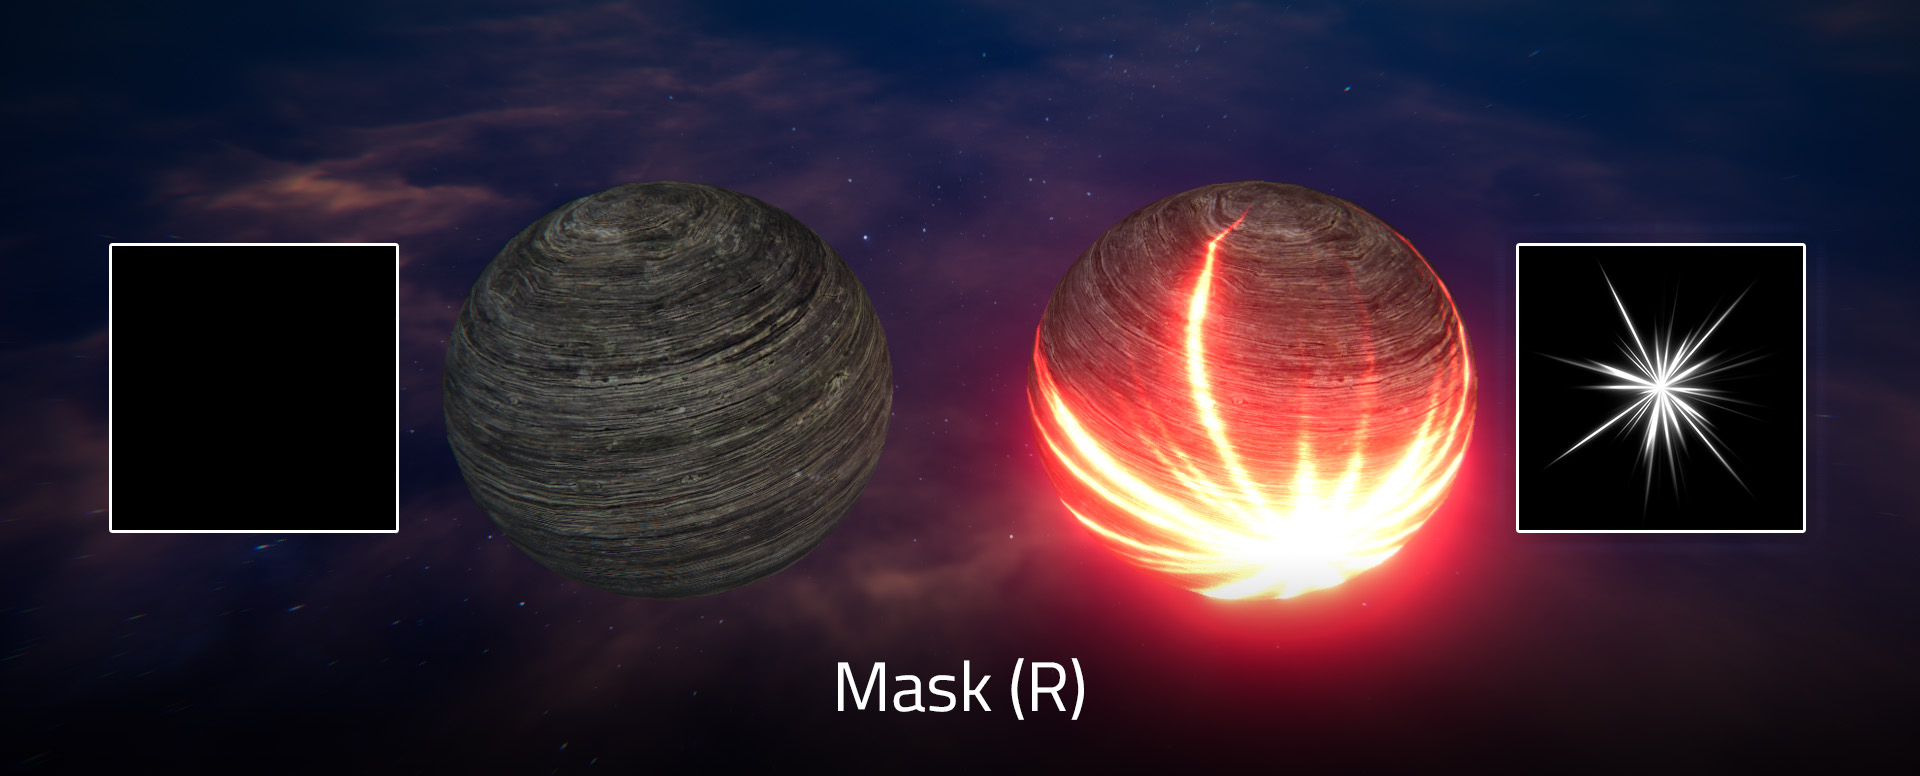
G channel: Smoothness. (Optional, leave black if not used)
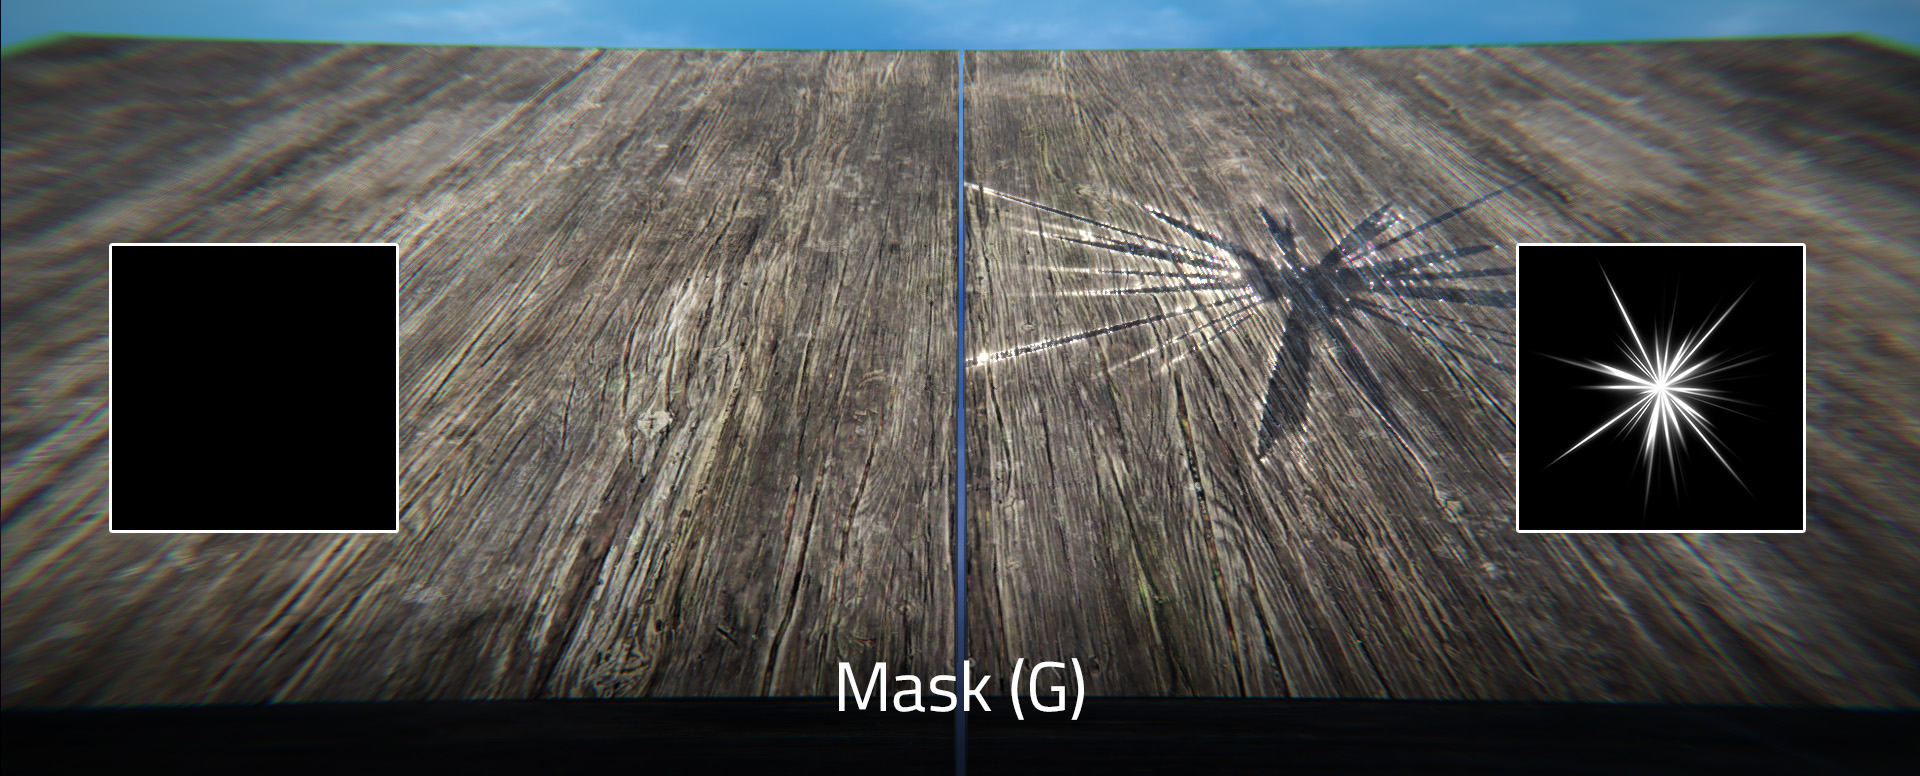
B channel: Metallic. (Optional, leave black if not used)
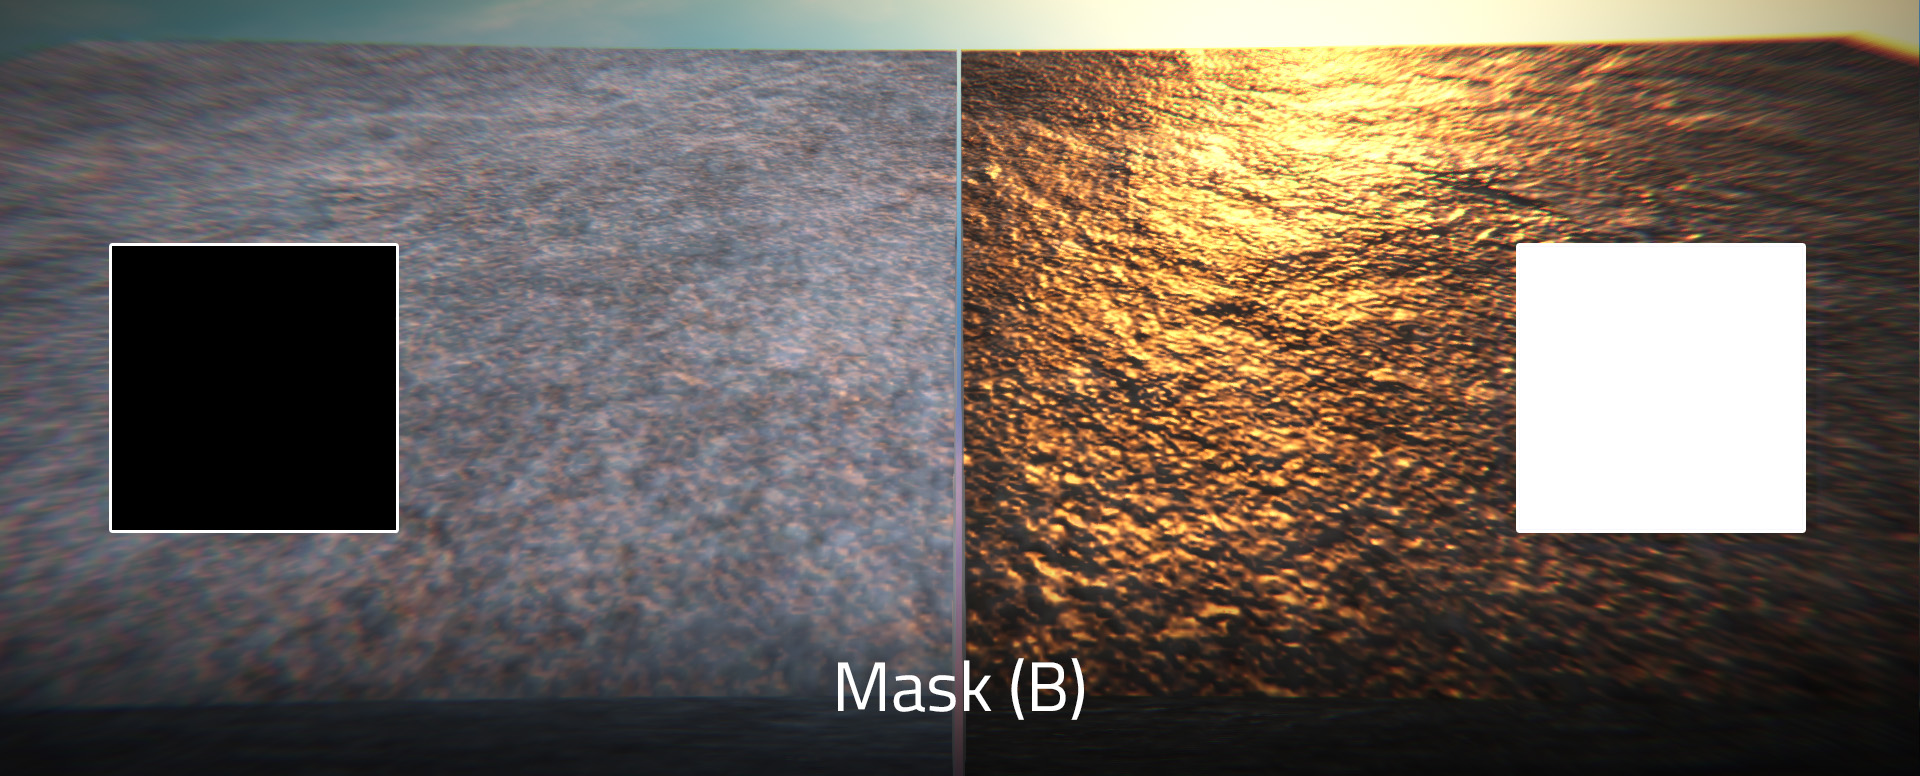
A channel: Ambient Occlusion. (Optional, leave white if not used)
New Material
- Select the
Assets → Materialscategory and click the first button on the bottom right,New Material. - In the dialog box that appears, enter a name for the material and click the
Createbutton.
Material Properties
After selecting a material, you can set its properties in the Inspector.
There are 3 material types: Physically Based, Unlit, Decal.
Physically Based Materialcan be applied to most physical objects.Unlit Materialis generally used for objects that need to be self-illuminating.Decal Materialis used in theDecalcomponent.
TIP
- Material properties are quite complex, and it is difficult to accurately describe the function of each property in words.
- It is recommended to experiment hands-on, adjusting each property yourself to understand its function and effect.
AlbedoAll
- Type:
Texture - Default: Empty
NormalPhysically BasedDecal
- Type:
Texture - Default: Empty
MaskPhysically BasedDecal
- Type:
Texture - Default: Empty
EmissionUnlit
- Type:
Texture - Default: Empty
Albedo ColorAll
- Type:
ColorRGBA - Default:
(1, 1, 1, 1)
Emission ColorAll
- Type:
ColorRGBA - Default:
(0, 0, 0, 1)
TIP
If the material does not need to emit light, keep the Emission Color black (0, 0, 0, 1).
Emission IntensityAll
- Type:
float - Default:
1.0 - Range:
0.0~30.0
Emission Intensity MinUnlit
- Type:
float - Default:
1.0 - Range:
0.0~30.0
Twinkle SpeedUnlit
- Type:
float - Default:
0.0
TIP
The twinkle speed of the official key material is approximately 3.0.
MetallicPhysically BasedDecal
- Type:
float - Default:
0.0 - Range:
0.0~1.0
SmoothnessPhysically BasedDecal
- Type:
float - Default:
0.1 - Range:
0.0~1.0
Ambient OcclusionPhysically BasedDecal
- Type:
float - Default:
0.0 - Range:
0.0~5.0
Normal ScalePhysically BasedDecal
- Type:
float - Default:
1.0 - Range:
0.0~5.0
Overlay TrackPhysically Based
- Type:
bool - Default:
true
TIP
When Overlay Track is checked, the player ball can leave snow trails on this material.
Overlay Noise ScalePhysically Based
- Type:
float - Default:
0.5 - Range:
0.0~5.0
Overlay Noise BlendPhysically Based
- Type:
float - Default:
0.5 - Range:
0.0~1.0
Overlay ClampPhysically Based
- Type:
float - Default:
0.5 - Range:
0.0~1.0
Overlay ProjectionPhysically Based
- Type:
float - Default:
0.5 - Range:
0.0~1.0
Overlay OffsetPhysically Based
- Type:
float - Default:
0.0 - Range:
-1.0~1.0
Wetness ClampPhysically Based
- Type:
float - Default:
0.5 - Range:
0.0~1.0
Wetness OffsetPhysically Based
- Type:
float - Default:
0.0 - Range:
-1.0~1.0
Smoothness MultiplierPhysically Based
- Type:
float - Default:
1.0 - Range:
0.0~5.0
TilingAll
- Type:
Float2 - Default:
(1, 1)
TIP
You can think of Tiling as scaling.
OffsetAll
- Type:
Float2 - Default:
(0, 0)
SpeedAll
- Type:
Float2 - Default:
(0, 0)
TIP
The material will move on its own according to the Speed.
Global UVPhysically BasedUnlit
- Type:
bool - Default:
false
TIP
- If
Global UVis enabled, the material will be rendered based on world coordinates. - You can choose a
Global UVmaterial for the stationary roads in the map to ensure their continuity at seams. - For movable physical objects in the map, do not use a
Global UVmaterial, otherwise, its texture will change as it moves.
Global UV TileGlobal UV = truePhysically BasedUnlit
- Type:
float - Default:
1.0 - Range:
0.0~20.0
Global UV BlendGlobal UV = truePhysically BasedUnlit
- Type:
float - Default:
1.0 - Range:
0.0~20.0
Top AlbedoGlobal UV = truePhysically Based
- Type:
Texture - Default: Empty
Top NormalGlobal UV = truePhysically Based
- Type:
Texture - Default: Empty
Top MaskGlobal UV = truePhysically Based
- Type:
Texture - Default: Empty
Transparency TypePhysically BasedUnlit
- Type:
Opaque | Alpha Clip | Alpha Blend - Default:
Opaque
Alpha DitherTransparency Type = Alpha ClipPhysically BasedUnlit
- Type:
bool - Default:
false
Alpha Clip ThresholdTransparency Type = Alpha ClipPhysically BasedUnlit
- Type:
float - Default:
0.5 - Range:
0~1
TIP
- When
Alpha Clipmode is selected, the material is completely transparent where the albedo map'sAchannel is less than theAlpha Clip Threshold, and completely opaque otherwise. - When
Alpha Blendmode is selected, the material's opacity depends on the albedo map'sAchannel.
The performance of Alpha Clip mode is much higher than Alpha Blend mode. If the effect meets expectations, please prioritize using Alpha Clip mode.
Affect AlbedoDecal
- Type:
bool - Default:
true
Affect NormalDecal
- Type:
bool - Default:
true
Affect MetallicDecal
- Type:
bool - Default:
true
Affect Ambient OcclusionDecal
- Type:
bool - Default:
true
Affect SmoothnessDecal
- Type:
bool - Default:
true
Affect EmissionDecal
- Type:
bool - Default:
true
Draw OrderDecal
- Type:
int - Default:
0 - Range:
-50~50
Audio
Import Audio
- Prepare your audio files in
.oggformat. - Select the
Assets → Audioscategory and click the first button on the bottom right,Import Audio. - In the dialog box that appears, select the audio file and click the
Openbutton.
Audio Preview
There are two ways to preview audio:
- Double-click the audio file directly to play the music.
- Select the audio file and control its play, pause, stop, and playback position in the
Inspector.
Scripts
Import Script
- Prepare your script files in
.jsformat. - Select the
Assets → Scriptscategory and click the first button on the bottom right,New / Import Script. - In the dialog box that appears, click the
Import Scriptbutton. - In the dialog box that appears, select the script file and click the
Openbutton.
Create Script
- Select the
Assets → Scriptscategory and click the first button on the bottom right,New / Import Script. - In the dialog box that appears, click the
Create Scriptbutton. - In the dialog box that appears, enter a name for the script and click the
Createbutton. - The new script will be created in the current folder.
Edit Script
- Double-click the script you want to edit / Select the script and click the
Open Filebutton in theInspector. - The editor will open automatically, and you can write script code in it.